30+ Spring Door Decorations Ideas for Your Classroom to Inspire Fresh Creativity
Introduction to 30+ Spring Door Decorations Ideas for Your Classroom to Inspire Fresh Creativity
As the frost of winter melts away, a palpable sense of renewal fills the air, making it the perfect time to refresh your learning environment. One of the most impactful and joyful ways to welcome this season of growth is through creative spring door decorations. Your classroom door is more than just an entryway; it’s the first impression, a canvas for inspiration, and a powerful tool for building a positive and engaging atmosphere. Transforming this space with vibrant, thematic decor not only beautifies the school but also sparks curiosity, fosters a sense of community, and visually signals a fresh start for students and teachers alike. This guide is packed with over 30 imaginative ideas to adorn your door, from blooming floral masterpieces to whimsical animal scenes and uplifting messages. Whether you’re a seasoned crafting pro or a first-time decorator, these concepts are designed to be accessible, budget-friendly, and bursting with the cheerful spirit of spring. Let’s dive in and explore how a simple door transformation can cultivate an environment where creativity and learning blossom together.
Why Choose Spring Door Decorations for Your Classroom Space
Embracing spring classroom door ideas is a transformative choice that extends far beyond mere aesthetics. Firstly, these decorations serve as a powerful visual cue for the seasonal shift, helping students connect with the natural world’s cycles right outside their window. A door adorned with bright flowers, buzzing bees, or a cheerful rainbow immediately lifts spirits and creates a welcoming, positive entry point. This is especially important after the long winter months, as it injects energy and color into the school corridors, making the learning environment feel more alive and dynamic.
Furthermore, a creatively decorated door fosters a strong sense of identity and belonging. When students contribute to or see their class theme displayed proudly, it builds classroom pride and unity. These displays can also be incredible interdisciplinary tools. A door themed around a butterfly’s life cycle teaches science; a garden of math facts integrates core subjects; a scene from a spring-themed book promotes literacy. The functional impact is clear: an engaging visual stimulus can spark conversations, questions, and excitement about learning topics. Ultimately, investing time in these seasonal displays is an investment in the classroom’s emotional and educational climate, proving that a little creativity at the door can open up a world of inspiration inside.
Key Elements & Design Components
Essential Decor Items for Spring Door Displays
To bring your spring door decor vision to life, you’ll want to gather a core set of materials that are versatile, colorful, and easy to work with. Here’s a detailed list of essentials:
- Base Backgrounds: Start with a solid foundation. Butcher paper, festive tablecloths, or large sheets of craft foam in pastel shades like sky blue, grass green, sunshine yellow, or lavender create a perfect canvas.
- Vibrant Papers: Stock up on construction paper, cardstock, and tissue paper in every spring hue imaginable—pinks, yellows, greens, and blues. These are for crafting flowers, leaves, animals, and letters.
- 3D Elements: Add depth and texture with items like paper plates (for giant sunflowers or ladybugs), cotton balls (for fluffy clouds or sheep), pipe cleaners (for butterfly antennae or stems), and plastic Easter eggs.
- Natural Touches: Incorporate faux greenery, artificial flowers, or even real (dried) twigs and branches to add an organic feel to your seasonal door decor.
- Letters & Messages: Pre-cut bulletin board letters or hand-cut ones from paper are crucial for adding titles, class names, or inspirational quotes like “Welcome Spring,” “Our Class is in Full Bloom,” or “Growing Together.”
- Adhesives: Reliable double-sided tape, glue dots, and a strong stapler are your best friends for securing items to the door without causing damage.
- Student Involvement Elements: Consider incorporating student photos (as bees in a hive, flowers in a garden), their handprints (as butterfly wings or leaves), or their written work to personalize the display.
Style Variations & Budget-Friendly Alternatives
The beauty of DIY door decorations is their adaptability. You can tailor any idea to fit your space, time, and budget.
- For the Time-Crunched Teacher: Opt for large, simple shapes. A giant, cheerful sun with radiating rays or a sprawling rainbow made from colored paper strips makes a huge impact with minimal pieces. Use a digital projector to trace large shapes onto paper for quick cutting.
- Budget-Conscious Creativity: Raid your recycling bin! Cardboard boxes can be cut into shapes like clouds, flowers, or bugs. Newspaper can be rolled into logs for a bird’s nest. Egg cartons make perfect little flowers or caterpillars. Nature itself is free—use leaf rubbings or pressed flowers in a clear contact paper overlay.
- Rental-Friendly & Low-Impact: Avoid adhesives that leave residue. Use painter’s tape on the back of your decor pieces or create a display on a large poster board or tri-fold science board that leans against the door or is hung with removable adhesive hooks.
- Interactive & Educational Variations: Turn your door into a learning station. Create a garden where each flower has a math fact on its petal, or a tree where students can add a leaf with a new vocabulary word they’ve learned.
How to Achieve the Look: Step-by-Step Styling Guide
Creating a stunning spring door decoration is a fun and manageable process. Follow these steps to ensure a polished and joyful result.
Step 1: Choose Your Theme and Color Palette
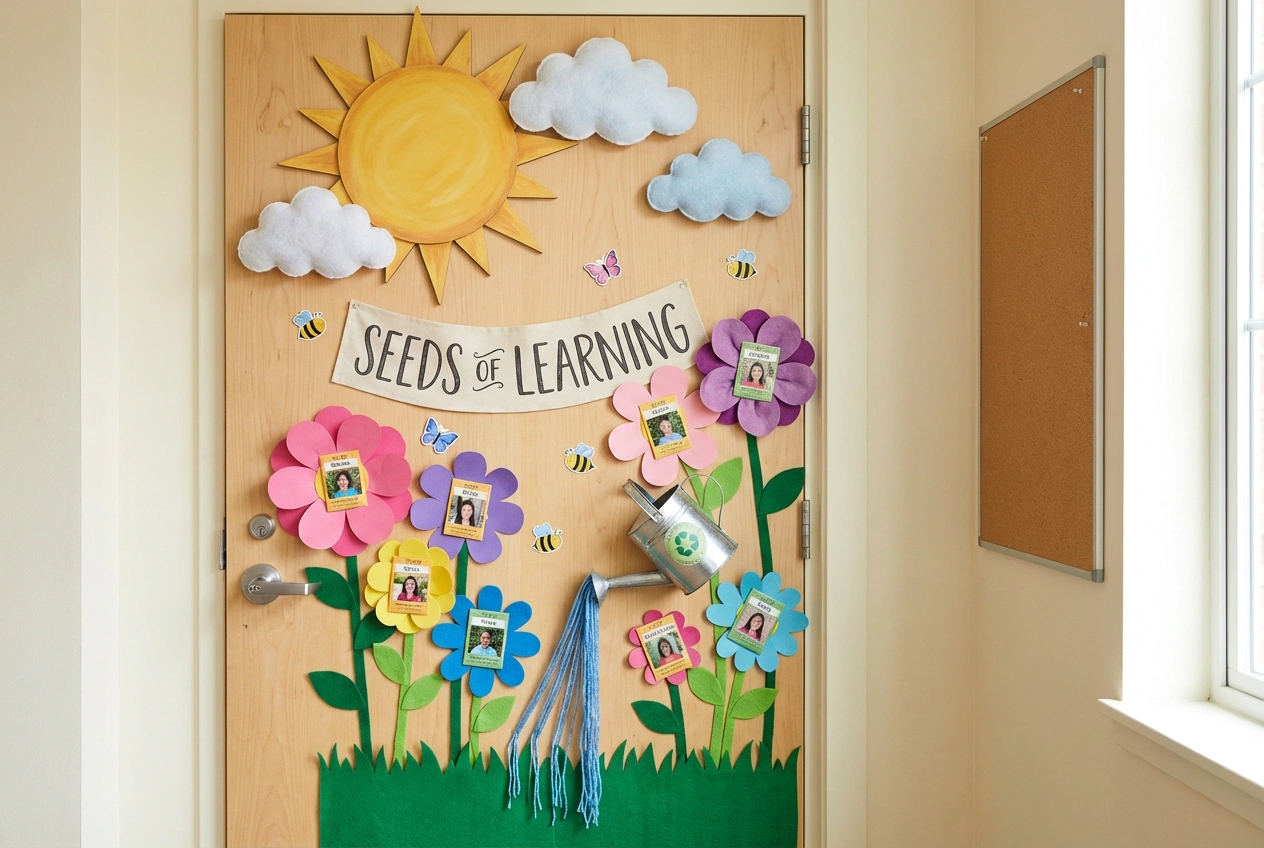
Begin by selecting a central theme that resonates with your class. Popular spring themes include “April Showers Bring May Flowers,” “Busy Bees,” “Caterpillars & Butterflies,” “Our Garden of Learning,” or “Spring into Reading.” Next, choose a complementary color palette. For instance, a garden theme might use greens, pinks, and yellows, while a rainy day theme could focus on blues, grays, and vibrant umbrella colors.
Step 2: Plan and Sketch Your Layout
Before cutting anything, sketch a rough layout on paper. Decide where your main focal point (like a large tree, giant flower, or rainbow) will go. Plan space for your title or message. Remember to consider the door’s handle and window; you can incorporate them into the design (the handle could be a flower center, the window could be the sun).
Step 3: Prepare the Background
Cover your door with your chosen background material. Butcher paper is a classic choice. Smooth it out and secure it at the top and sides with painter’s tape or staples (if allowed). This creates a clean, unified canvas for your classroom door design.
Step 4: Create and Assemble Key Components
Now, craft the main elements of your scene. If you’re making flowers, cut out petals, stems, and leaves. For a butterfly, cut symmetrical wings. Enlist student help for repetitive tasks like cutting out multiple leaves or petals—it builds ownership and saves you time. Create your letters for the title during this phase as well.
Step 5: Build the Scene with Layering
Start attaching your pieces from the back layer to the front. For example, first attach stems and grass, then leaves, then flower centers, and finally petals on top for depth. Use foam adhesive dots between layers to create a 3D pop-up effect that makes your spring door art more dynamic.
Step 6: Add Fine Details and Student Personalization
This is where the magic happens. Add details like ladybug spots, bee stripes, raindrops, or smiling faces. This is also the perfect stage to add student contributions—attach their photos, handprints, or written work. These personal touches make the display truly special.
Step 7: Final Review and Secure Everything
Step back and look at your door from a distance. Check for balance and ensure nothing is obstructing the door’s function. Finally, go over all elements and make sure they are securely attached to withstand hallway traffic.
Elevating the Look: Advanced Styling Tips
To take your spring door decorations from great to extraordinary, consider these advanced styling tips. First, focus on texture mixing. Combine smooth paper with crinkled tissue paper for flower centers, use yarn for grass, or add real feathers to a bird design. This tactile variety makes the display more visually interesting. Second, master the art of shadow and light. By slightly curling the edges of petals or wings forward and using a darker shade of the same color paper behind key elements, you can create a subtle shadow effect that adds remarkable depth and realism to your scene.
Furthermore, don’t neglect the surrounding area. Extend your theme onto the wall adjacent to the door with a few complementary elements, like a trail of footprints leading to the door or a few floating butterflies. This creates a more immersive experience. Finally, consider incorporating a subtle, thematic scent if possible and allowed—a cotton ball with a drop of floral essential oil placed discreetly behind a paper flower can engage another sense and make the spring theme even more memorable. These thoughtful details show a next-level commitment to creating an inspiring environment.
Maintenance & Care: Keeping Your Spring Display Fresh
A well-crafted spring door display can last for the entire season with a little care. Firstly, since school hallways can be high-traffic areas, periodically check that all elements are still securely fastened. A quick pass with a glue gun or extra tape can re-adhere any pieces that have come loose. For dusting, gently use a feather duster or a hairdryer on a cool, low setting to blow away any accumulated dust from paper flowers and other decor.
If your door is exposed to direct sunlight, be aware that some papers may fade over time. Using higher-quality cardstock or placing critical elements in slightly shaded areas of the design can mitigate this. When the season ends and it’s time to take down your seasonal door decor, remove items carefully. Peel tape slowly to avoid tearing the background paper, which you may be able to reuse for another theme. Store reusable 3D elements like plastic insects or sturdy cardstock letters in a labeled box for easy access next spring, making your future decorating projects even more efficient.
FAQs: Frequently Asked Questions About Spring Door Decorations
Q: How can I create spring door decorations on a very tight budget?
A: Absolutely! Some of the best DIY door decorations use recycled materials. Utilize cardboard from boxes, egg cartons, old magazines, and newspaper. Collect fallen twigs and leaves for a natural touch. Focus on large, simple shapes that use less material but still make a big visual impact, like a giant sun or rainbow.
Q: I’m not artistically inclined. Are there easy spring door ideas for beginners?
A: Certainly! Start with a simple, bold concept. A “Spring Has Sprung” door with large, colorful paper grass along the bottom and student-made paper flowers popping up is very effective. Using stencils, printable templates, or even tracing shapes from a projector can help you create professional-looking elements without needing to draw freehand.
Q: How do I make my door decoration interactive for students?
A: Interactive classroom door designs are fantastic for engagement. Create a garden where students can add a paper flower when they achieve a goal. Make a tree where they can attach a leaf with a book recommendation. A “pea pod” door could have opening pods with student photos or facts inside. The key is to design elements that students can physically add to or manipulate.
Q: What are some non-floral themes for spring door decorations?
A: Spring offers many themes beyond flowers! Consider “April Showers” with umbrellas and rainboots, a “Bird’s Nest” with chicks and eggs, a “Frog Pond” scene, a “Kite Flying” day design, or a “Butterfly Life Cycle” educational display. Sports themes like “Spring into Soccer” or a reading theme like “Get Carried Away with Books” (using hot air balloons) also work wonderfully.
Q: How can I ensure my door decor is inclusive and makes all students feel represented?
A: This is a crucial consideration. Use a diverse range of skin tones when incorporating student photos or handprint art. Choose themes that are universally enjoyable and avoid culturally specific symbols unless they are part of an intentional, inclusive lesson. Phrases like “Our Garden Grows Together” or “Every Bird Sings a Different Song” celebrate individuality within community.